Trying my hand at a photomanip

Found an interesting gallery online or added some new images to FembotWiki? Post photo-manipulations, artwork, or other visual media here.
Post Reply
Whisky Tango Foxtrot
Posts: 11
Joined: Thu Sep 04, 2008 8:40 pm
Contact:

Trying my hand at a photomanip

Post by Whisky Tango Foxtrot » Wed Mar 10, 2010 2:00 am

Decided to see if I could take a regular nude photo that I found on 4chan and make it look like the woman was made out of plastic/laytex.

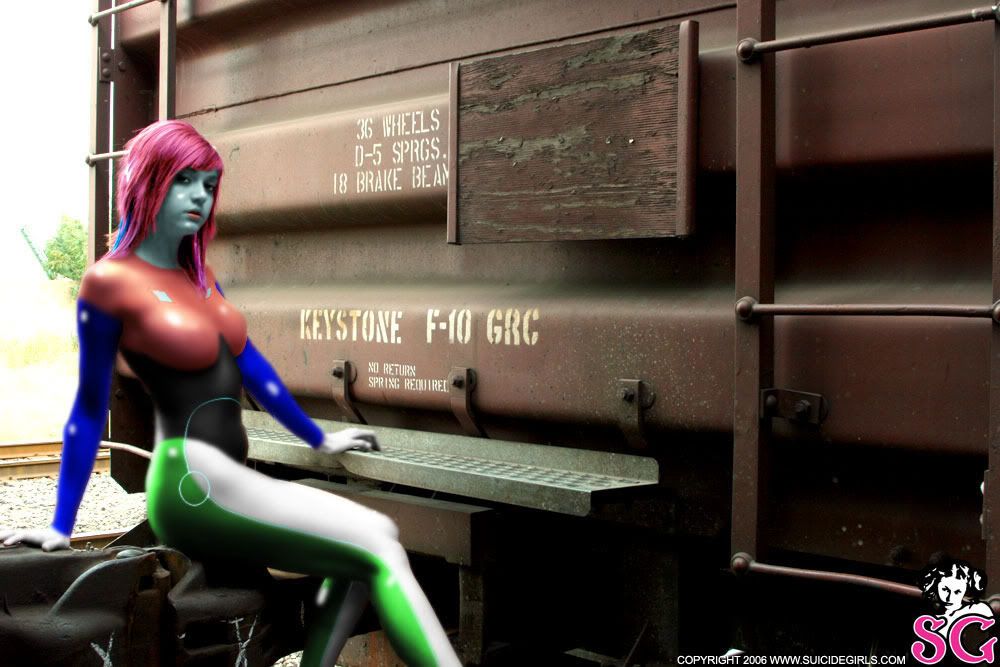
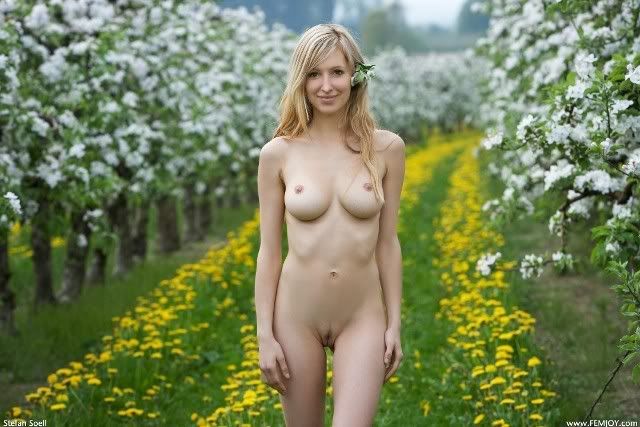
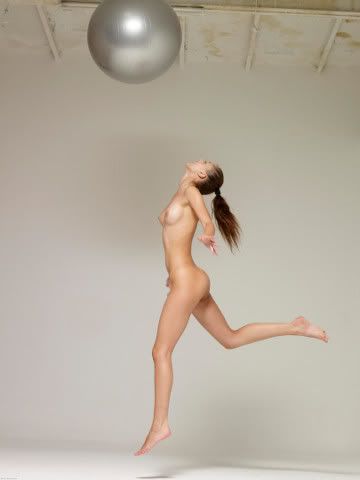
Original (scaled down):
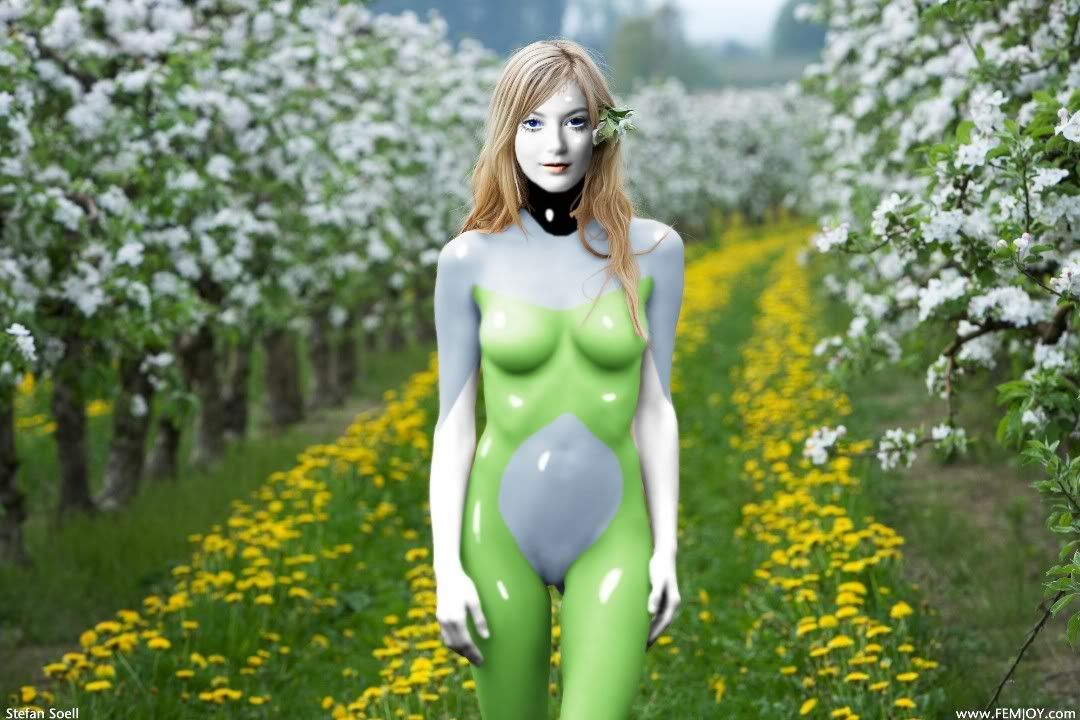
Image

Manipped version:
Image

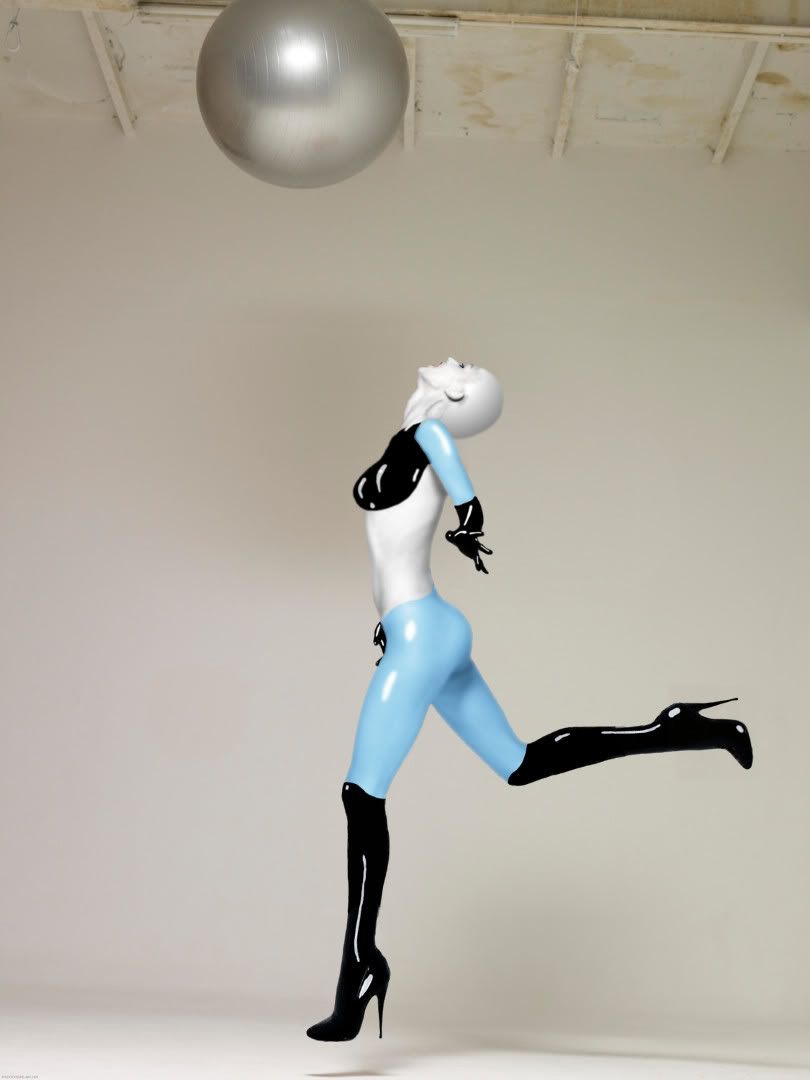
The boots are from another image (they're both actually the same boot, but I re-did the highlights on the back one.) The rest is all Stupid Gimp Tricks.

User avatar
darkbutflashy
Posts: 783
Joined: Mon Dec 12, 2005 6:52 am
Technosexuality: Transformation
Identification: Human
Gender: Male
Location: Out of my mind
x 1
Contact:

Post by darkbutflashy » Wed Mar 10, 2010 4:52 am

Looks good. How do you make the glossy effect with gimp?

dark
Do you like or dislike my ongoing story Battlemachine Ayako? Leave a comment on the story's discussion pages on the wiki or in that thread. Thank you!

User avatar
Stephaniebot
Posts: 1918
Joined: Thu Oct 23, 2003 12:13 pm
Technosexuality: Transformation
Identification: Android
Gender: Transgendered
Location: Huddersfield
x 2
Contact:

Post by Stephaniebot » Wed Mar 10, 2010 6:32 am

It does look very good. Now if only that could be done for real!
I'm just a 'girl' who wants to become a fembot whats wrong with that?

Whisky Tango Foxtrot
Posts: 11
Joined: Thu Sep 04, 2008 8:40 pm
Contact:

Post by Whisky Tango Foxtrot » Wed Mar 10, 2010 9:35 am

darkbutflashy wrote:Looks good. How do you make the glossy effect with gimp?

dark
For the black areas I just drew over the whole section in a new layer in solid black then put in a few strategically-placed highlights to suggest the shape.

For the blue areas I selected the section from the original picture using the Quickmask tool, copied it to a new layer, desaturated it, applied the Gaussian Blur filter a few times to smooth it out, then went into the Colours->Curves dialog to generally lighten the area while still preserving the shadows. Since the red, green and blue curves can be adjusted individually I also used this section to apply the colour. After that I applied a few highlights freehand (using the spraypaint tool) and blurred the area again to make the highlights blend better.

The white areas were done basically the same as the blue ones, but I upped the contrast on them (in addition to the Curves trick) and didn't bother applying any highlights.

User avatar
darkbutflashy
Posts: 783
Joined: Mon Dec 12, 2005 6:52 am
Technosexuality: Transformation
Identification: Human
Gender: Male
Location: Out of my mind
x 1
Contact:

Post by darkbutflashy » Wed Mar 10, 2010 9:45 am

Thanks for the info. Maybe I try myself.

dark
Do you like or dislike my ongoing story Battlemachine Ayako? Leave a comment on the story's discussion pages on the wiki or in that thread. Thank you!

Whisky Tango Foxtrot
Posts: 11
Joined: Thu Sep 04, 2008 8:40 pm
Contact:

Post by Whisky Tango Foxtrot » Wed Mar 10, 2010 11:16 am

Of course, the nice thing about having the human and robot pictures in the same pose and on the same background is that you can animate the transformation easily:

Image

Whisky Tango Foxtrot
Posts: 11
Joined: Thu Sep 04, 2008 8:40 pm
Contact:

Post by Whisky Tango Foxtrot » Wed Mar 10, 2010 11:30 pm

Had another go using the same techniques.

Original:
Image

Manipped version:
Image

I let her keep her hair this time! Of course, I had to replace the face entirely (the original made her look like a psycho clown after it was manipped) so it's pretty much a wash.

Whisky Tango Foxtrot
Posts: 11
Joined: Thu Sep 04, 2008 8:40 pm
Contact:

Post by Whisky Tango Foxtrot » Sun Mar 14, 2010 6:36 pm

Image

Not too happy with this one, although I did learn a few useful techniques the next few a bit better. For one thing, I actually bothered to read the tutorial on the wiki while working on this one, and although it was too far along at that point for me to make any significant changes it was pretty useful in getting the chest-panels to look right. I've been using the Gimp for years and completely failed to notice that it had a bump-mapping function.

(Unfortunately the actual bump-mapping seems to have mostly been lost in the jpeg compression process, but you can still get a sense of it in the finished image.)

I also discovered that the Curves tool works reasonably well for changing hair colours, although I think my next 'bot is going to be another baldie. Robots just look better with smooth heads.

Whisky Tango Foxtrot
Posts: 11
Joined: Thu Sep 04, 2008 8:40 pm
Contact:

Post by Whisky Tango Foxtrot » Sat Mar 20, 2010 11:36 am

My most recent attempt:
Image

Post Reply
Users browsing this forum: No registered users and 14 guests